
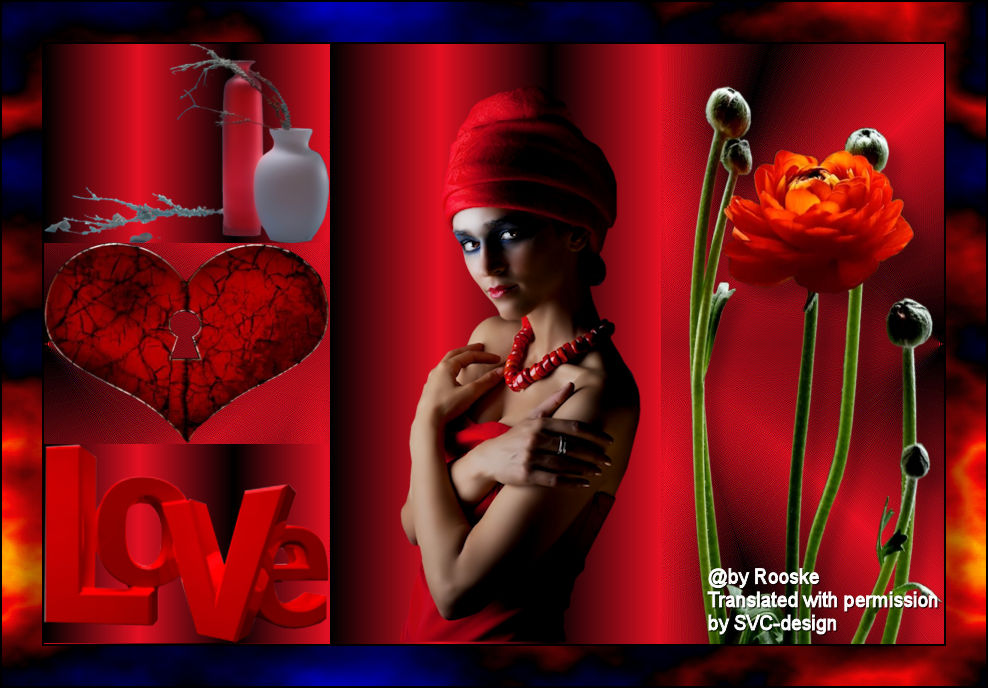
This lesson is made with PSPX9
But is good with other versions.
© by SvC-Design
Materialen Download :
Here
******************************************************************
Materials:
love.psp
tubeclaudiaviza-flores184.psp
tubeclaudiaviza-mix53.psp
tubeclaudiaviza-mix74.psp
tubeclaudiaviza-mujer2989.psp
******************************************************************
Plugin:
Plugin – Simple – Top Left Mirror
Plugin - Unlimited - Render - Plasma
******************************************************************
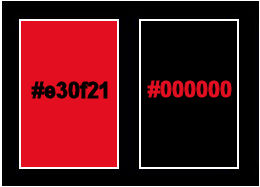
color palette
:
******************************************************************
methode
When using other tubes and colors, the mixing mode and / or layer coverage may differ
******************************************************************
General Preparations:
First install your filters for your PSP!
Masks: Save to your mask folder in PSP, unless noted otherwise
Texture & Pattern: Save to your Texture Folder in PSP
Selections: Save to your folder Selections in PSP
Open your tubes in PSP
******************************************************************
We will start - Have fun!
Remember to save your work on a regular basis
******************************************************************
Foreground: #e30f21
Background : #000000
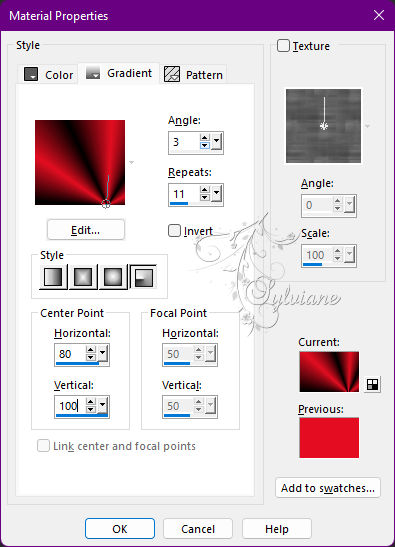
Gradient: radial - angle 3 - repeat 11 - hor 80 - vert 100
1.
Open a new transparent image 900 x 600 pix.
Open your tube in psp and take a light foreground and dark background color from your tube, or take my colors.
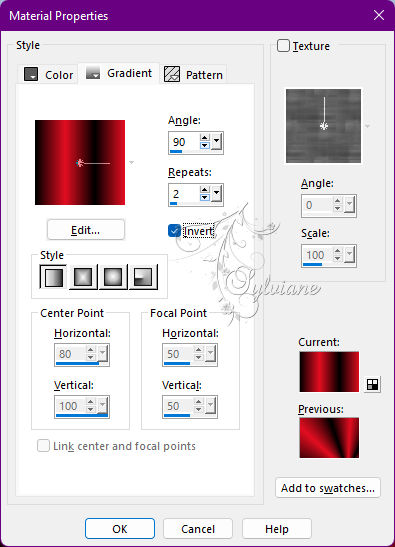
2.
Fill your blank image with background.
Layers - New Raster Layer
fill with gradient.
Effects - Image Effects - Seamless Tiling - default.
Effects - Edge Effects - Enhance
Plugin – Simple – Top Left Mirror.
Effects - Edge Effects – Enhance
Effects - 3D Effects - Drop Shadow
5/5/50/20 color:#000000
Repeat drop shadow with hor and ver at minus 5.
3.
Layers - New Raster Layer
Draw a selection in the middle of your worksheet
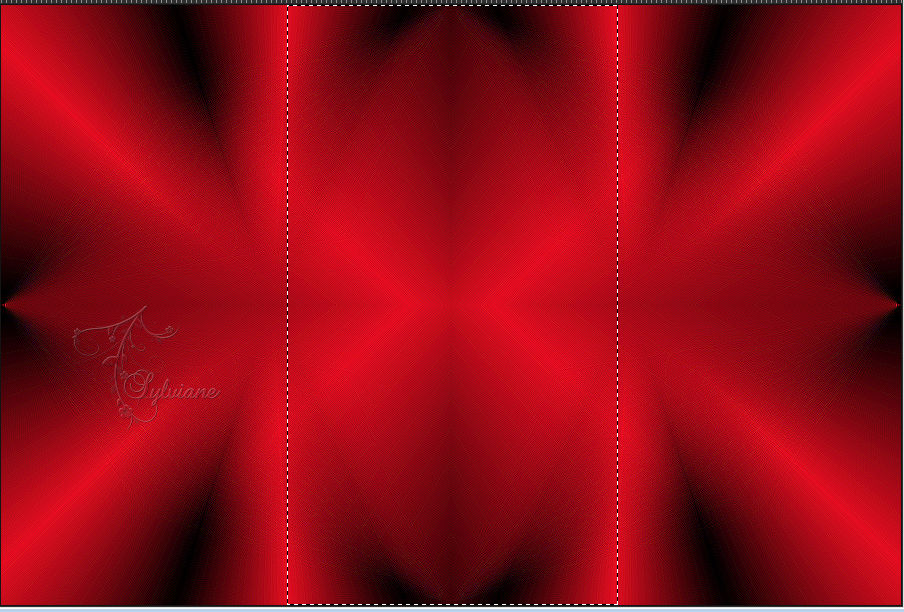
Set your gradient back to linear - angle 90 - rep 2 - invert.
Fill the selection with gradient.
Selections - select none
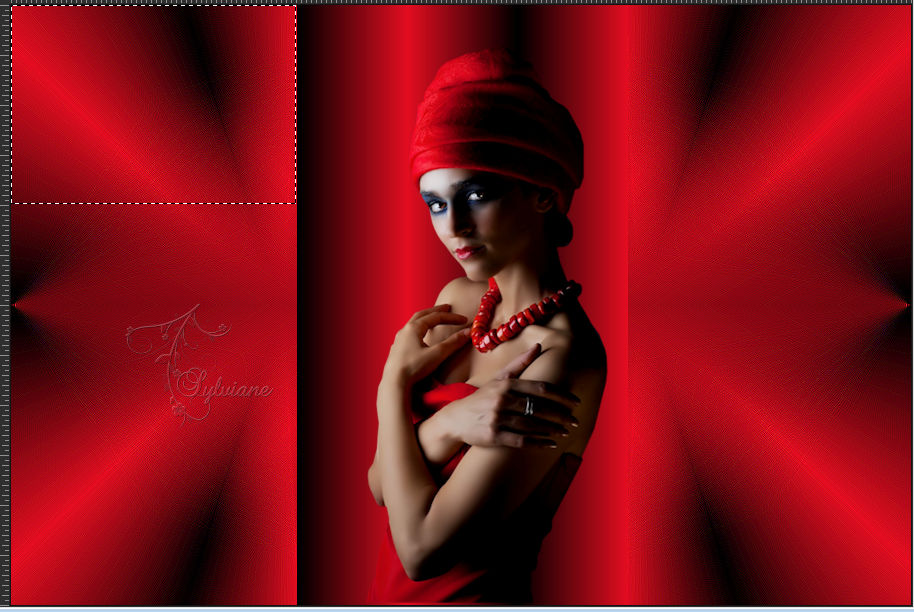
Open tubeclaudiaviza-mujer2989.psp
Edit – Copy
Edit - Paste as new layer
Resize 2x by 80%, uncheck Resize all.
Put her in the middle.
Layer – merge – merge all (flatten)
4.
Layers - New Raster Layer
Make a selection in the top left corner.
Fill selection with gradient.
Open tubeclaudiaviza-mix53.psp
Edit – Copy
Edit - Paste into selection
Selections - select none
Layers - New Raster Layer
Take your selection tool on rectangle.
Draw a selection below the other .
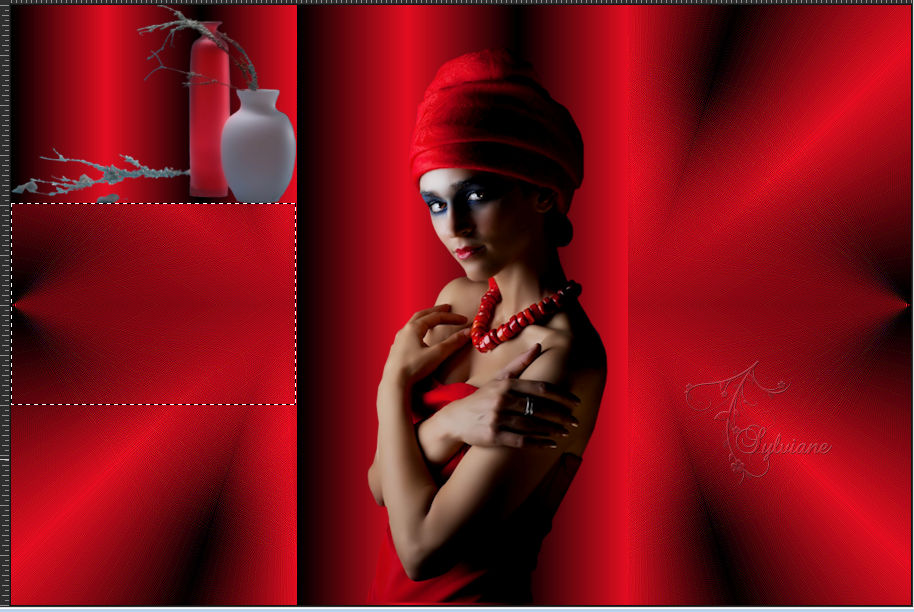
Open tubeclaudiaviza-mix74.psp
Edit – Copy
Edit - Paste into selection
Selections - select none
Layers - New Raster Layer
Make a selection in the box below.
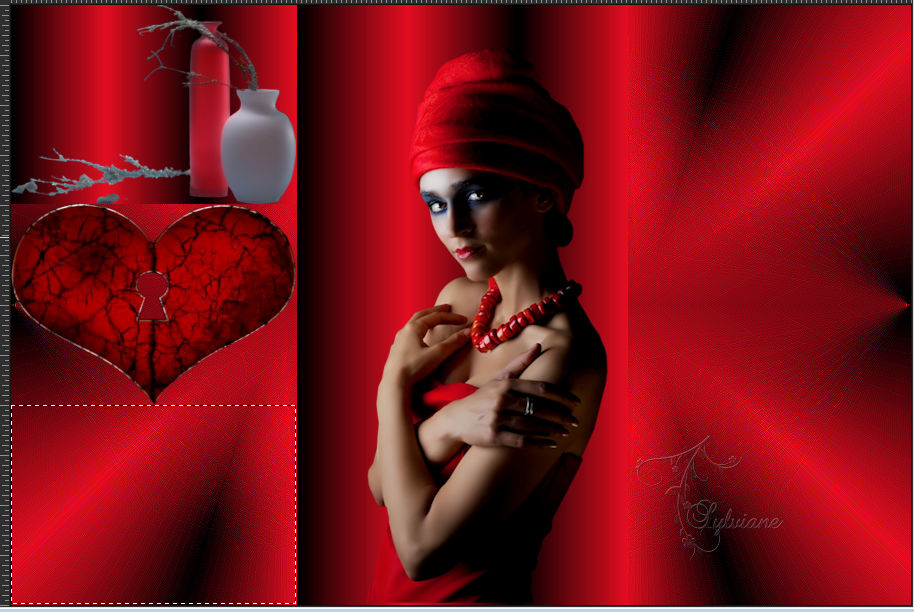
Fill selection with gradient.
Open love.psp
Edit – Copy
Edit - Paste into selection
Selections - select none
Layers - New Raster Layer
Draw a selection over the entire right part.
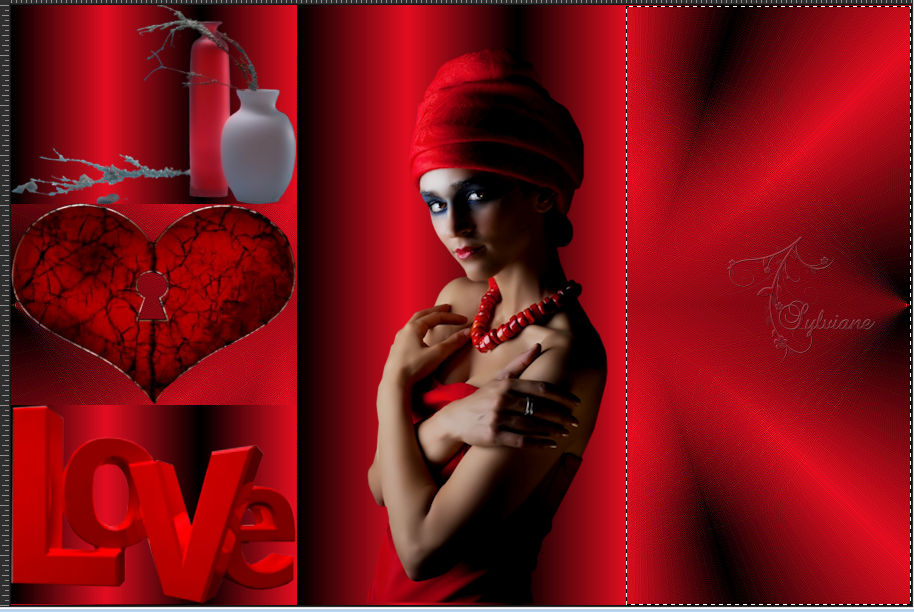
Open tubeclaudiaviza-flores184.psp
Edit – Copy
Edit - Paste into selection
Selections - select none
Slide the flower down against the edge.
Effects - 3D Effects - Drop Shadow
12/12/30/20 color:#000000
Layer – merge – merge all (flatten)
5.
Image - Add Borders – Symmetric -2 pix – color: black.
Image - Add Borders – Symmetric - 40 pix – color: white.
Select the white border and fill with gradient.
Plugin - Unlimited - Render - Plasma .
Selections – Invert
Effects - 3D Effects - Drop Shadow
20/20/30/20 color:#000000
Repeat drop shadow with hor and vert on -20.
Selections - select none
Image - Add Borders – Symmetric -2 pix – color: black
Resize image longest side at 600 pix.
Add your name or watermark.
Adjust - sharpness - sharpen.
Save your work as JPG.
Back
Copyright Translation © 2022 by SvC-Design